- Training
You might be asking yourself, “Don’t you just train for hiking by going on a few hikes?” That’s definitely something you should do, but if you’re just getting into hiking or you aspire to do longer hikes to loftier places, then doing some preseason training can be a big help.
This workout plan is designed to target areas that power you up the trail mile after mile: It increases strength in your core and major leg muscles, and it helps build endurance in those same muscle groups.
Here’s a quick, general overview of how to train for hiking:
- Increase strength in major muscles that hikers rely upon. Stronger legs and core muscles will better support the load in your pack and help you hike harder, longer.
- Build endurance in those same muscle groups, as well as the shoulders and lower back, because hiking can be an all-day activity.
- Improve your balance so you have a more stable base that will allow you to take uneven terrain in stride.
- Don’t forget your cardio. Complement this exercise plan with activities like trail running, mountain biking or another aerobic exercise that you enjoy.
Training Schedule for Hiking
Start training 8 weeks before your first long hike. A good mix of workout types for each week involves the following:
- 2 nonconsecutive days of strength training (exercises in this article)
- 2 nonconsecutive rest days; take more any time you feel your body needs it
- 3 nonconsecutive cardio sessions weekly until the final two weeks before a major hike
- Two weeks before your trip: Change your cardio days to long day hikes (60+ minutes each) with a pack that’s close to the weight you’ll be carrying on your trip. Also add a fourth day-hike training session to one of your strength-training days.
- One or two days prior to your trip: Ease up on all training.
Training Exercises for Hiking
Keep the following in mind as you train:
- Make the exercises fit your body, not the other way around.
- If something hurts, modify the exercise or skip it; and take extra rest days if you feel the need
- Move at your own pace, going slowly at first. Increase the repetitions or add more resistance or weight as your training progresses.
Warm up: Get yourself warmed up by doing a brisk 5- to 10-minute walk. Then follow the guidelines below as you progress through the exercises in this article:
- Inhale during initial exertion, then exhale as you return to the starting position; during faster exercises, simply make sure you breathe regularly.
- Rest for 30 to 45 seconds at the end of each exercise (unless otherwise noted).
- Do each of the exercises below one time in succession, then rest for two minutes and repeat another set of the exercises (if you have time to fit in a third set of exercises, that’s even better).
Squats find their way into many exercise plans because they provide an excellent all-around workout for all of the muscles in the lower body and legs—your body’s hiking engine. Adding a jump helps further develop power in the lower legs.
- Start with your feet shoulder-width apart and then squat down until your thighs are at least parallel with the ground.
- Keep your chest up, your feet flat and your knees over your toes.
- As you come up from the squat, push through heels and explode up and jump a few inches off the ground.
- Land softly and quietly, and immediately go into another squat.
- Do 15-20 times.
Most of your daypack weight rides on your hips. This exercise works the glutes and other muscles that support the hips to improve their stability and endurance.
- Stand on your left leg.
- Lean your body forward at your hips, keeping back straight and lift your right leg back behind you, slightly off the ground.
- Rotate (roll) your hip away from your standing foot.
- Keep your body in a straight plane as you roll your hips back.
- Repeat 10-15 times on each side.
Tips and modifications: If it’s too hard to balance, hold onto the back of a chair or keep your toes on the ground.
Hiking with a pack on involves a seemingly endless amount of stepping up and over things. This exercise builds strength and endurance in your glutes and quad muscles so you can handle whatever obstacles you’ll encounter along the trail.
Props: A stable surface, about 8 inches off the ground. If you have a training box or an aerobic step at home, you can use that. If not, the bottom step on a flight of stairs can also work.
- Start with your left foot on the ground and your right foot on top of the step; your right knee will be bent.
- Step up until you are standing with your right leg nearly straight and you are balanced on top of the stop; your left leg should be bent slightly and your left foot poised an inch or so above the step.
- Pause in a balanced position, then step down, returning your left leg and right foot to the starting position.
- Do this 15 times; then repeat the exercise 15 times on the other side.
Tips and modifications: Adjust the difficulty by finding a higher or lower (stable) surface to step on.
To get down after you step on top of boulder or a log, you need to be able to lower your body and pack weight under control. That’s key to preventing knee injuries and stumbles. This exercise works your glutes and quad muscles so you have the strength and the balance to do that smoothly and efficiently.
Props: A stable surface, about 8 inches off the ground. If you have a training box or an aerobic step at home, you can use that. If not, the bottom step on a flight of stairs can also work.
- Start by standing on top of a step, balanced on your right foot with your left foot hovering to the side.
- Lift the toes on your left foot up, then bend your right knee as you slowly lower your left leg until your left heel is barely touching the ground or poised just above it.
- Power back up with your right leg until you are back to the starting position.
- Do this 15 times; then repeat the exercise 15 times on the other side.
Tips and modifications: Adjust the difficulty by finding a higher or lower (stable) surface to step on.
This exercise combines a squat to work lower body muscles with quickly lifting a moderate amount of weight to build the strength you’ll need as you explore the trails and take your daypack on and off throughout the day.
Props: A pair of lightweight dumbbells
- Stand with feet shoulder-width apart, arms at your side, holding a dumbbell in each hand.
- Press your hips back and squat down as if you’re about to sit on an invisible chair. Try to bring your thighs parallel to the floor.
- Power back up to a standing position, using your upward momentum to assist you as you curl up and then press the dumbbells overhead with palms facing each other the entire time.
- Return to starting position and repeat 10-15 times.
Tips and modifications: Keep your back and neck in a neutral position; try not to round your shoulders or crane your neck forward throughout this exercise. Also, try not to let your knees go past your toes when you’re squatting.
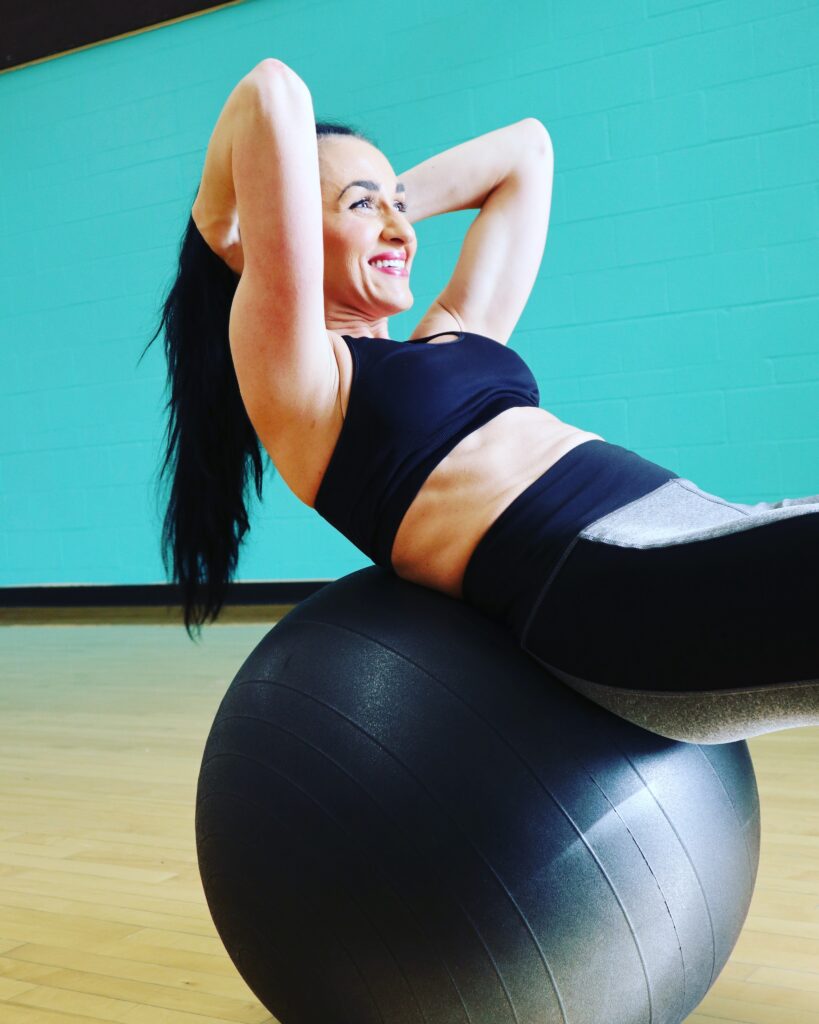
The bridge portion of the exercise engages your core muscles to help improve your balance on the trail. The hamstring curl builds up the glutes and hamstring muscles so they can provide power on uphill sections.
Props: This exercise requires a medium size exercise ball. To check for the correct size, sit on it. If the tops of your legs are parallel to the ground, then it’s the correct size. If the tops of your legs slope toward your knees, then the ball is too large. (If the tops of your legs slope slightly up toward your knees, the ball size is still fine.)
- Lie on your back with your arms extended down by your sides, with your legs extended and your heels resting atop the exercise ball.
- Tighten your glutes and abs as you pull your legs back, rolling the ball toward your butt.
- Stop when your knees are bent at slightly more than 90 degrees.
- Extend your legs straight again, rolling the ball away from you.
- Repeat the sequence 15 times.
Tips and modifications: If you struggle to maintain balance as you roll the ball, place your heels slightly farther apart on the ball and move your arms away from your body; increase difficulty by keeping your heels closer together and by moving your arms closer to your body.
Many hikers complain of knee fatigue and soreness. This exercise builds strength in the hips, which helps prevent knee issues by giving you better control over your knees.
- Stand with your weight balanced on your left leg and that knee slightly bent.
- Keep your back straight and weight centered over the standing knee.
- Imagine that you’re at the center of a clock. Lift and extend your right leg, reaching forward toward 12 o’clock.
- Bring your leg back to the center.
- Repeat the movements toward the 3, 6, and 9 o’clock positions. As you reach for each position, stay balanced over the standing leg and don’t let your hips shift side-to-side.
- Switch to the other leg and repeat; do 5 to 8 sets on each leg.
Tips and modifications: Keep your hips level and push into the ground with your standing foot for balance. Make smaller leg movements if you feel off balance.


